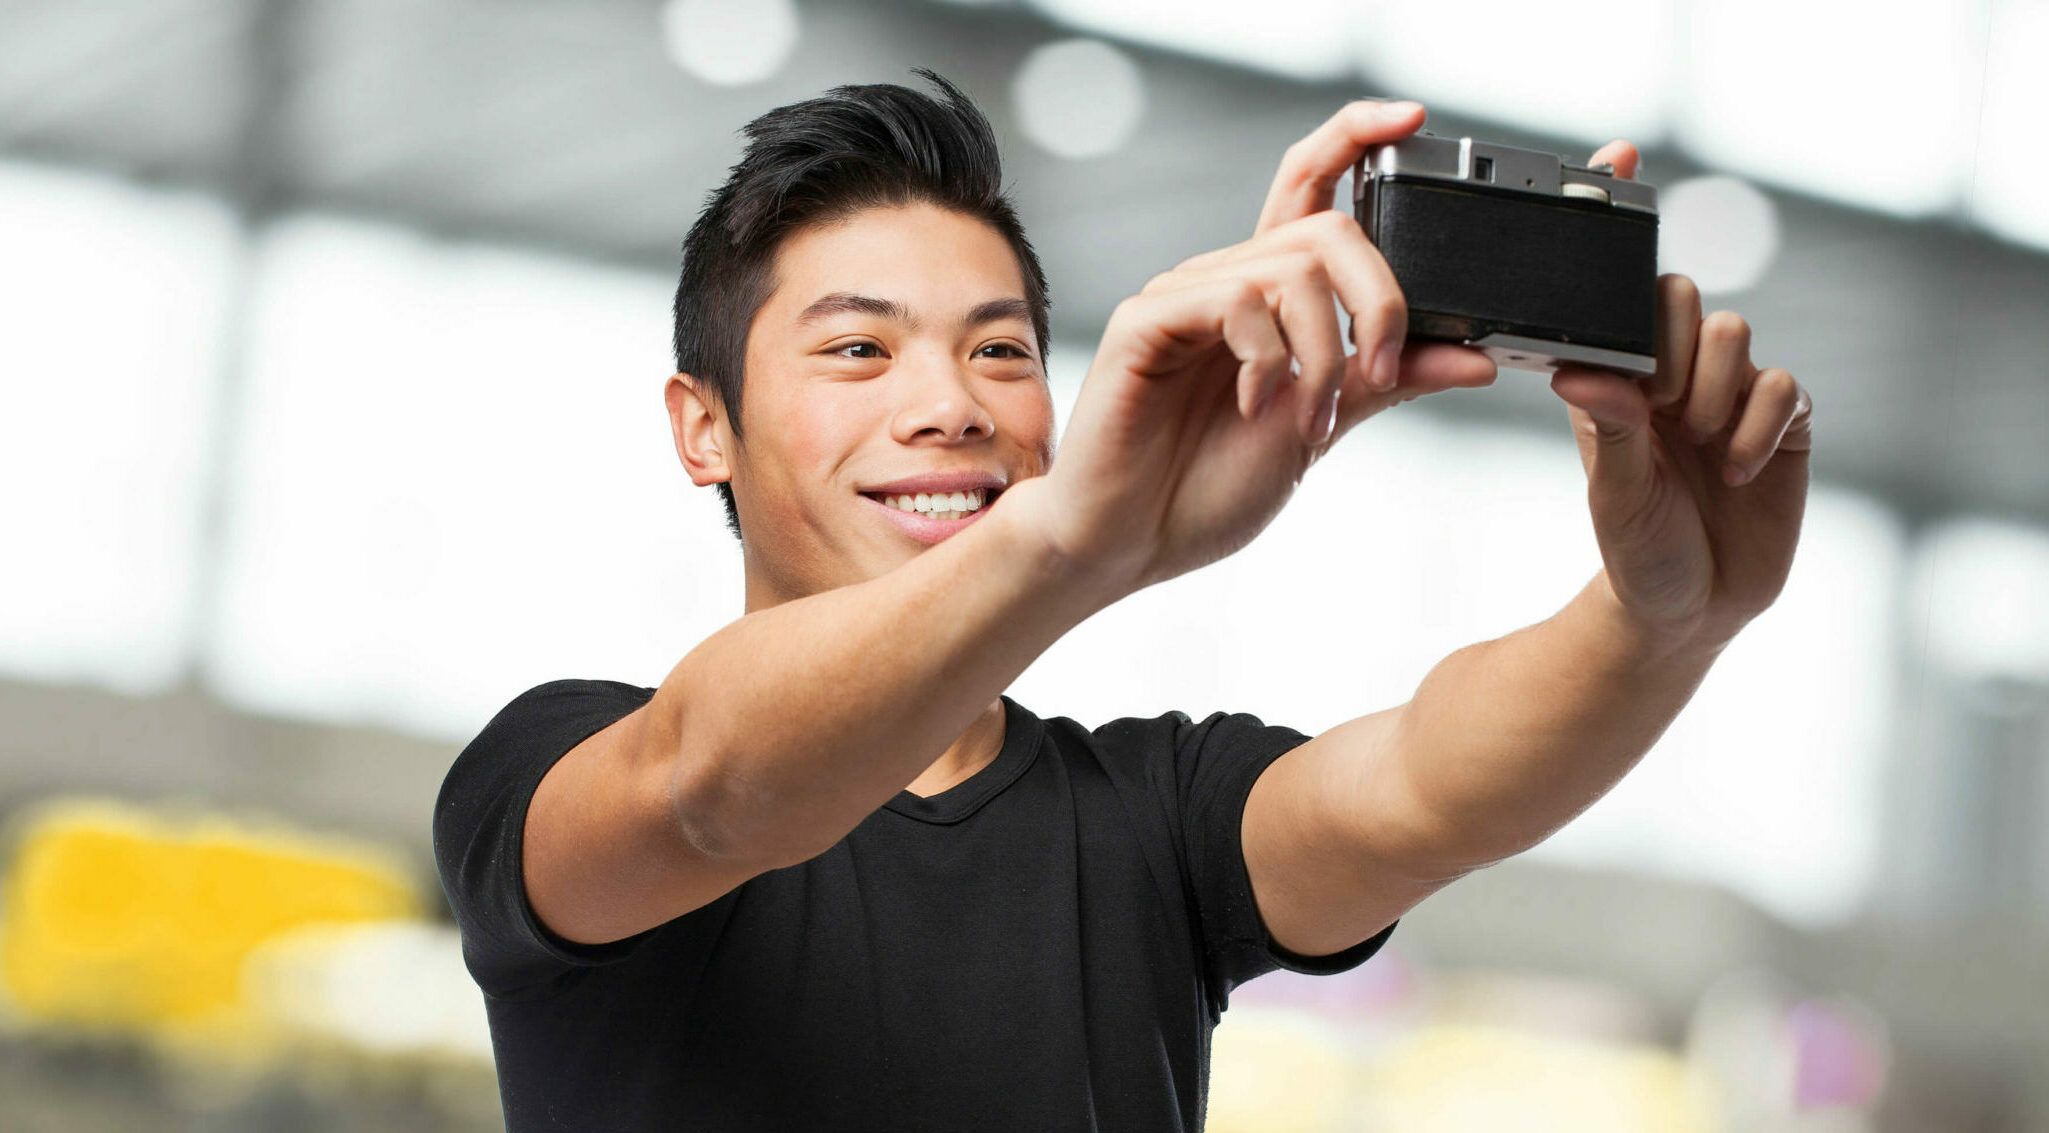
Top tips for self-filming: part one
In this day and age, everything is mobile, on the move, and instantaneous, and making videos is no exception. Even some of the most professional videographers are now reliant on their smart phones, for easy access to filming, editing, and publishing in minutes. And, while many will argue that you can never replace the real thing, the footage and quality that can be achieved these days on a mobile phone is not only impressive, it’s also becoming harder and harder to tell the difference.
The past 18 months have forced more people than ever to start figuring things out for themselves, as lockdown inevitably made it impossible to pull together a crew and a professional set-up. No doubt, many will have noticed the quality they’re capable of capturing on their own, and it’s more than likely that self-shot footage will continue post-pandemic.
So, it’s really quite simple… the better the footage, the better the film and, when you’re shooting your own footage on your own device, the quality of your output is solely your responsibility.
Along with our partner, Fine Young Films, our three-part blog post series will provide you with our top tips to getting the most out of recording yourself on your own camera, starting with the basics of camera support:
- Supporting yourself
Your friends and family’s handheld vlogs can be fun to watch, funny and even endearing but in a professional context, the level of quality won’t be up to scratch. First of all, get rid of that handheld look. Get your phone mounted onto a tripod, for a straight, solid and more professional shot. Tripods don’t have to be big or expensive, you can even improvise with a pile of books – but always make sure your camera stays secure.
Next, start to think about keeping your shot level. Look out for straight lines and verticals in your shot which will help indicate whether you’re off-balance, such as door frames or shelves. If necessary, take a step back from the tripod and get a better sense of the perspective, wide frame, and scene. And, for the final touch, adjust your camera so that it sits just above eye level, ever so slightly looking down to capture a nice, flattering angle.
- Choosing the right background
Your background can reveal a lot about you so it’s critical to get it right. Where you choose to film is your ‘set’, so choose wisely. Your background could be bold and colourful, or muted and stylish, but wherever you pick the focus still needs to be on you. So, keep it plain, light yourself up to stand out, and don’t get too close to your backdrop. If you decide to use a real environment, make sure it’s tidy and create depth by standing into the space and not up against a wall.
Adding interesting elements in the background can be a powerful tool, for example a light or a plant can break up the space, or objects that do some of the storytelling or that can reflect your personality. Keep an eye on your framing as well, last thing you want to notice once you’ve posted your video is a plant growing out of your ear.
- Before you hit ‘record’
Here are a couple of tips and tricks to use before you hit the big red button:
- to avoid frustrating interruptions, make sure to turn flight mode on
- film in landscape instead of portrait to instantly make your footage look more professional
- check for last minute adjustments by using the front camera on your phone to check your framing
- make sure you’re filming in video mode, not photo mode, as this will crop your footage and affect your overall framing
- test the record function, play it back, and make sure everything’s looking and sounding OK, before you get going properly.
Get filming
No matter how simple, these tips and tricks will help you capture the best possible footage from your makeshift set-up. Keep an eye out for the next part of our self-filming blog post series and, if you’d like help editing your self-filmed videos, then get in touch.


